My Data Models
My Categories
This section allows you to create your own category tree to organize your products. This can be done either in bulk with excel or in the SQARP interface. If you already have a existing category tree our bulk upload feature is the recommended approach.
Bulk upload
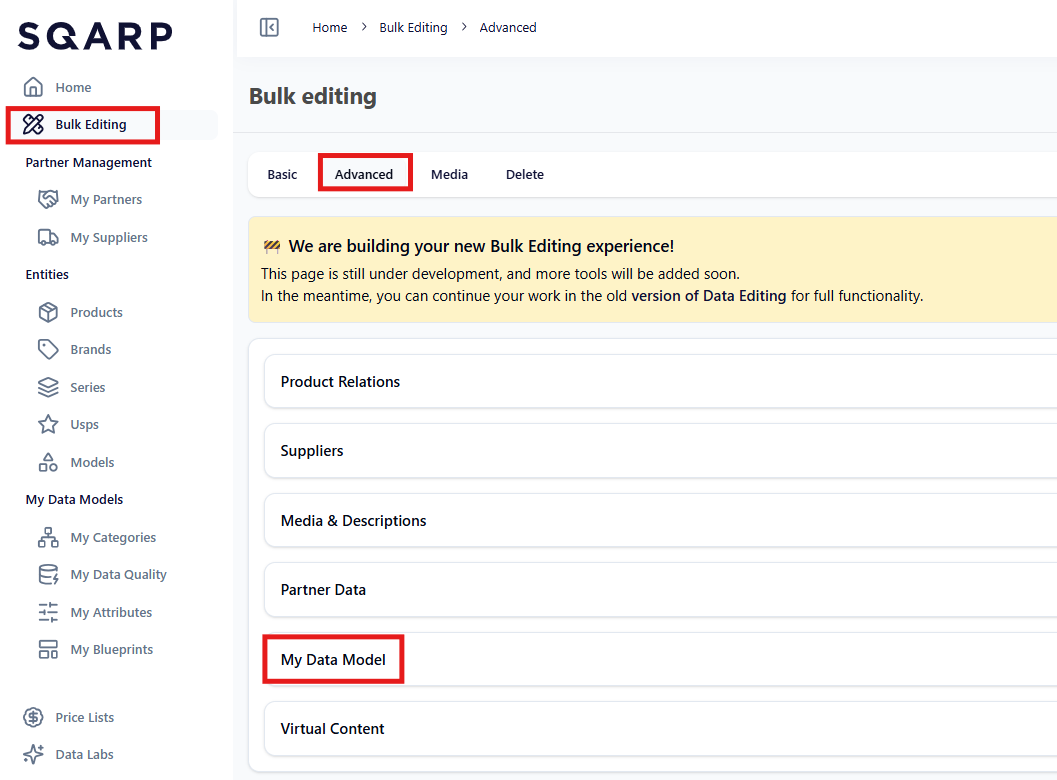
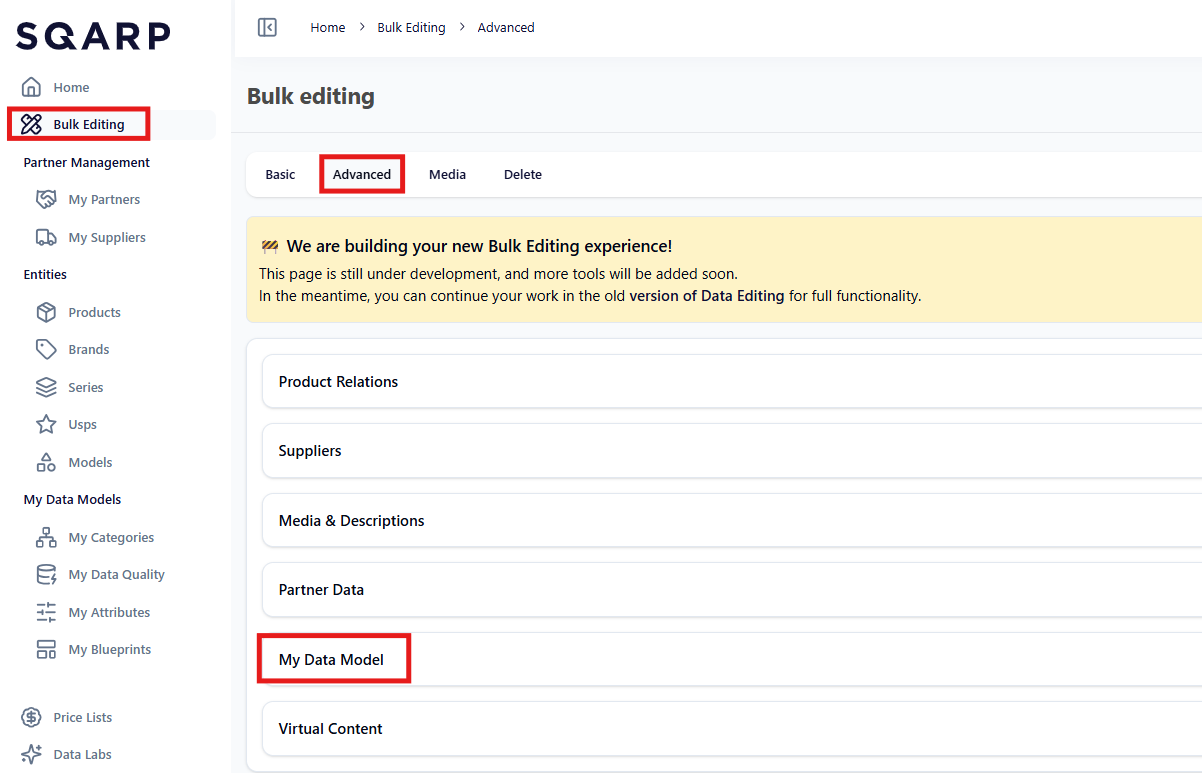
Start of by navigating to Bulk Editing on the leftside menu and go to tab Advanced.
On the middle of the page you find My Data Model, which presents Categories, Attributes and Blueprints. Navigate to Categories and download the template.
Tree
Sheet My Category Tree is where you create your category trees, one row represents one tree. Fill out Category tree slug, Category tree name and Category tree translations. If you can't find a specific language make sure the language is added to your organization.
- Add a new language by pressing your initials in the top right corner of the screen. Go to: My Organisation>Preferences>Available Languages.
Nodes
Sheet My Category Nodes is where you create the tree structure and link it to the correct category tree. Products can only be placed on leaf nodes but all nodes from top level branch to leaf needs to be created on it's own row.
Fill out My Category tree slug, My Category node slug, Parent node slug and My Category node translation.
Example: A leaf node with a depth of 3. 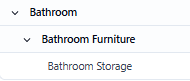

To publish the category tree and nodes simply Upload Changes at the same location where the template was downloaded.
Manual creation
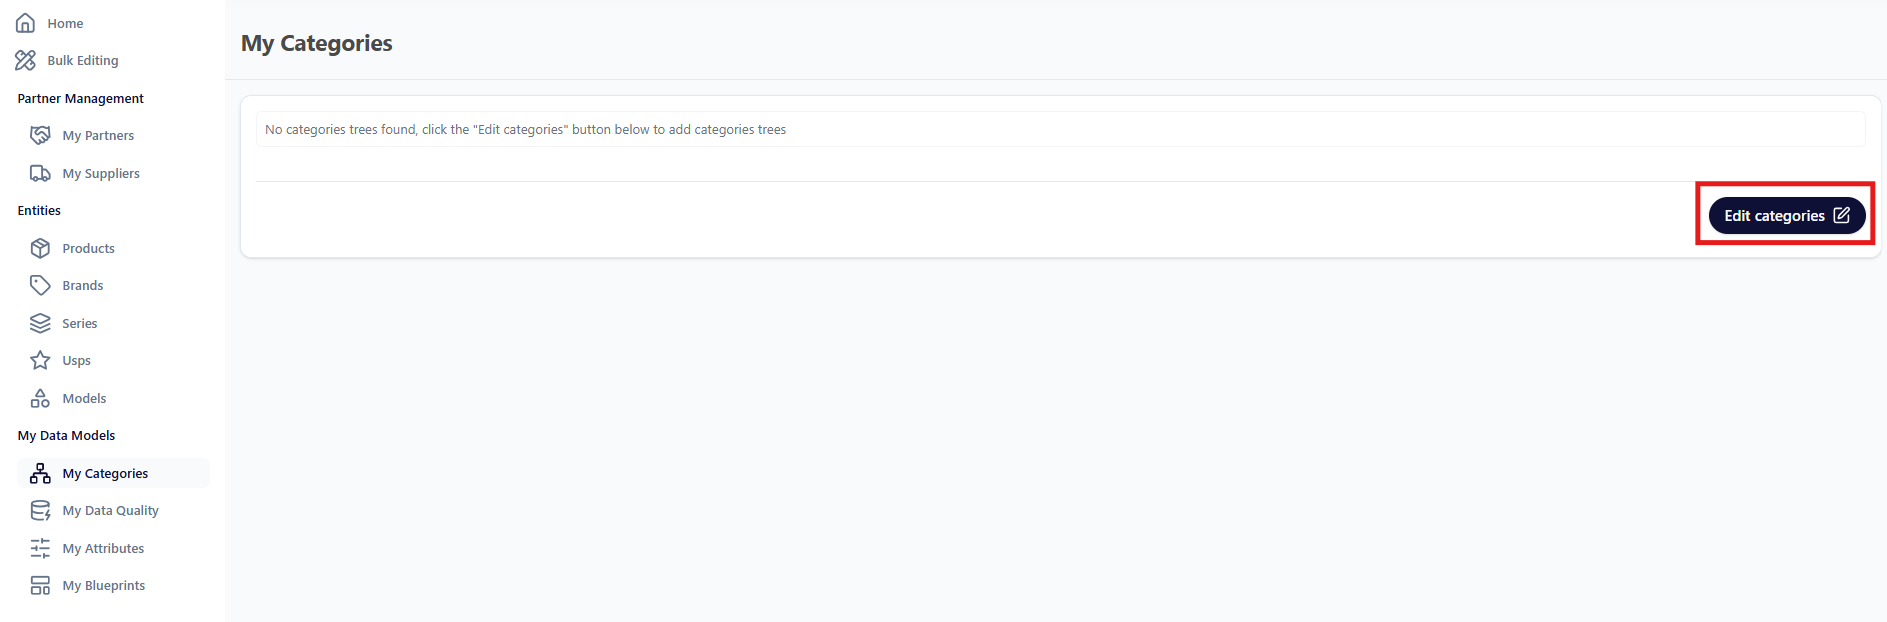
Navigate to My Categories on the leftside menu, make sure you are on the correct language on the top right of the page and click on Edit categories.
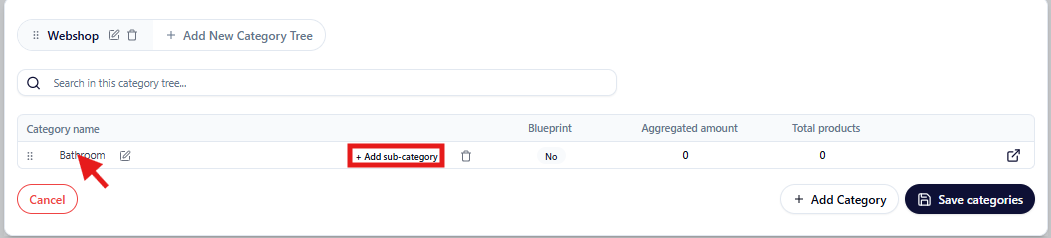
A new window will be highlighted where you can Add New Category Tree. Type in the name of the category tree and press the checkmark.
To add category nodes press Add Category. 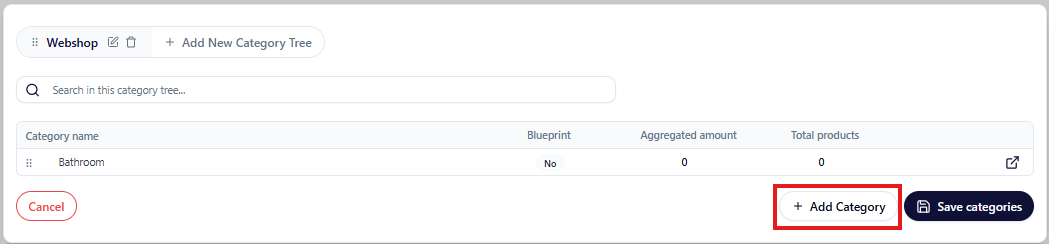
My Attributes
This section allows the user to create their own verified attributes. Not to be confused with unverified attributes which do not have a defined structure.
Attributes are created with different types to verify their value. The different types are:
- INTEGER: Numeric whole number. e.g. 1, 5, 10.
- DECIMAL: Numeric number with decimals. e.g. 0.5, 5.12, 10.345.
- BOOLEAN: A true or false statement.
- SINGLE_SELECT: A range of defined values/labels where one of the values can be selected.
- MULTI_SELECT: A range of defined values/labels where multiple values can be selected.
- FREE_TEXT: Free text field set to one language, no restrictions, any string or number is allowed.
- LOCALIZED_TEXT: Free text field that accepts multiple languages, any string or number is allowed.
Tags are also a useful tool to keep the attributes organized. e.g. Measurements, logistical, certifications etc. The tags can be set up however the user want.
Attributes can either be created in bulk with excel or in the SQARP interface.
Bulk upload
Navigating to Bulk Editing on the leftside menu and go to tab Advanced.
In the middle of the page you find My Data Model, which presents Categories, Attributes and Blueprints. Navigate to Attributes>My Attributes and download the template.
My Attributes
This sheet creates the attributes. Slug, Type and one Translation is mandatory while Description, Unit and Tags can be skipped if not relevant but can be useful.
Select Labels
One row creates one select label for one attribute. This is only relevant for attributes of type SINGLE_SELECT and MULTI_SELECT. Attributes of other types should not be included in this sheet.
To publish the attributes and select labels simply Upload Changes at the same location where the template was downloaded.
Manual creation
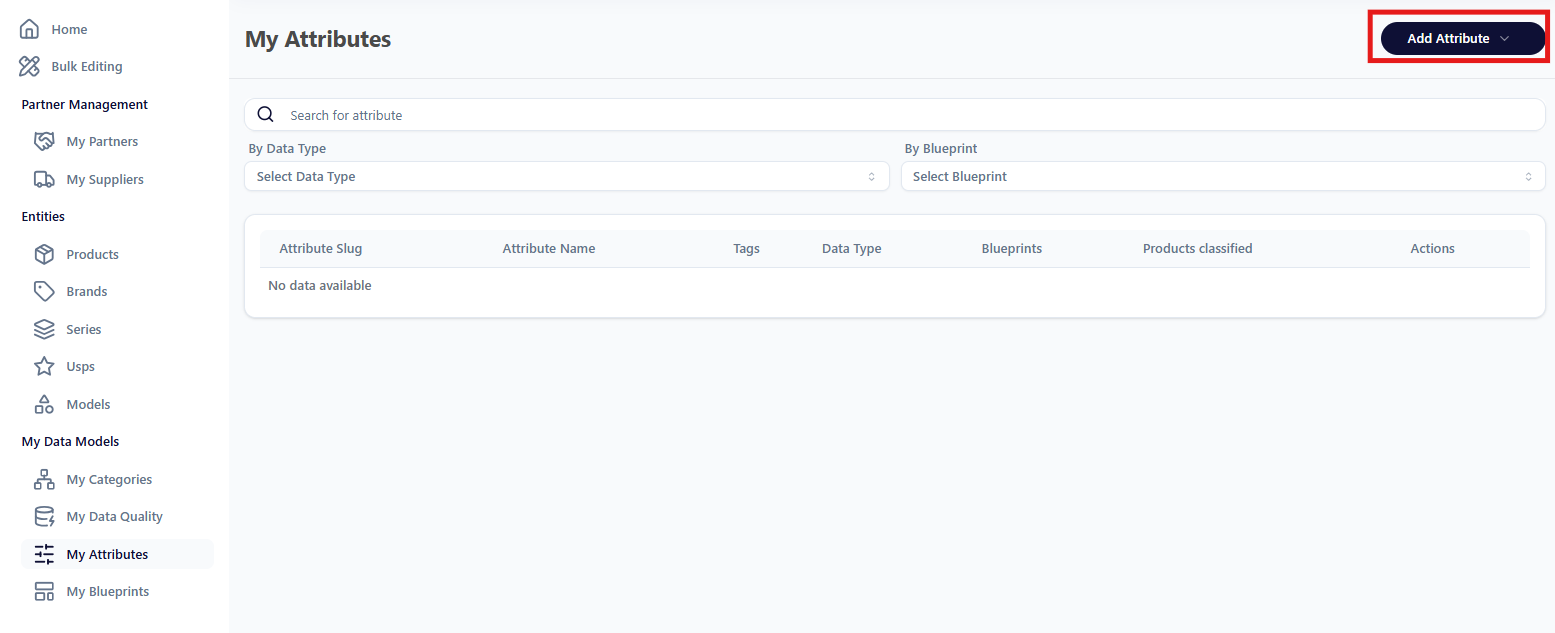
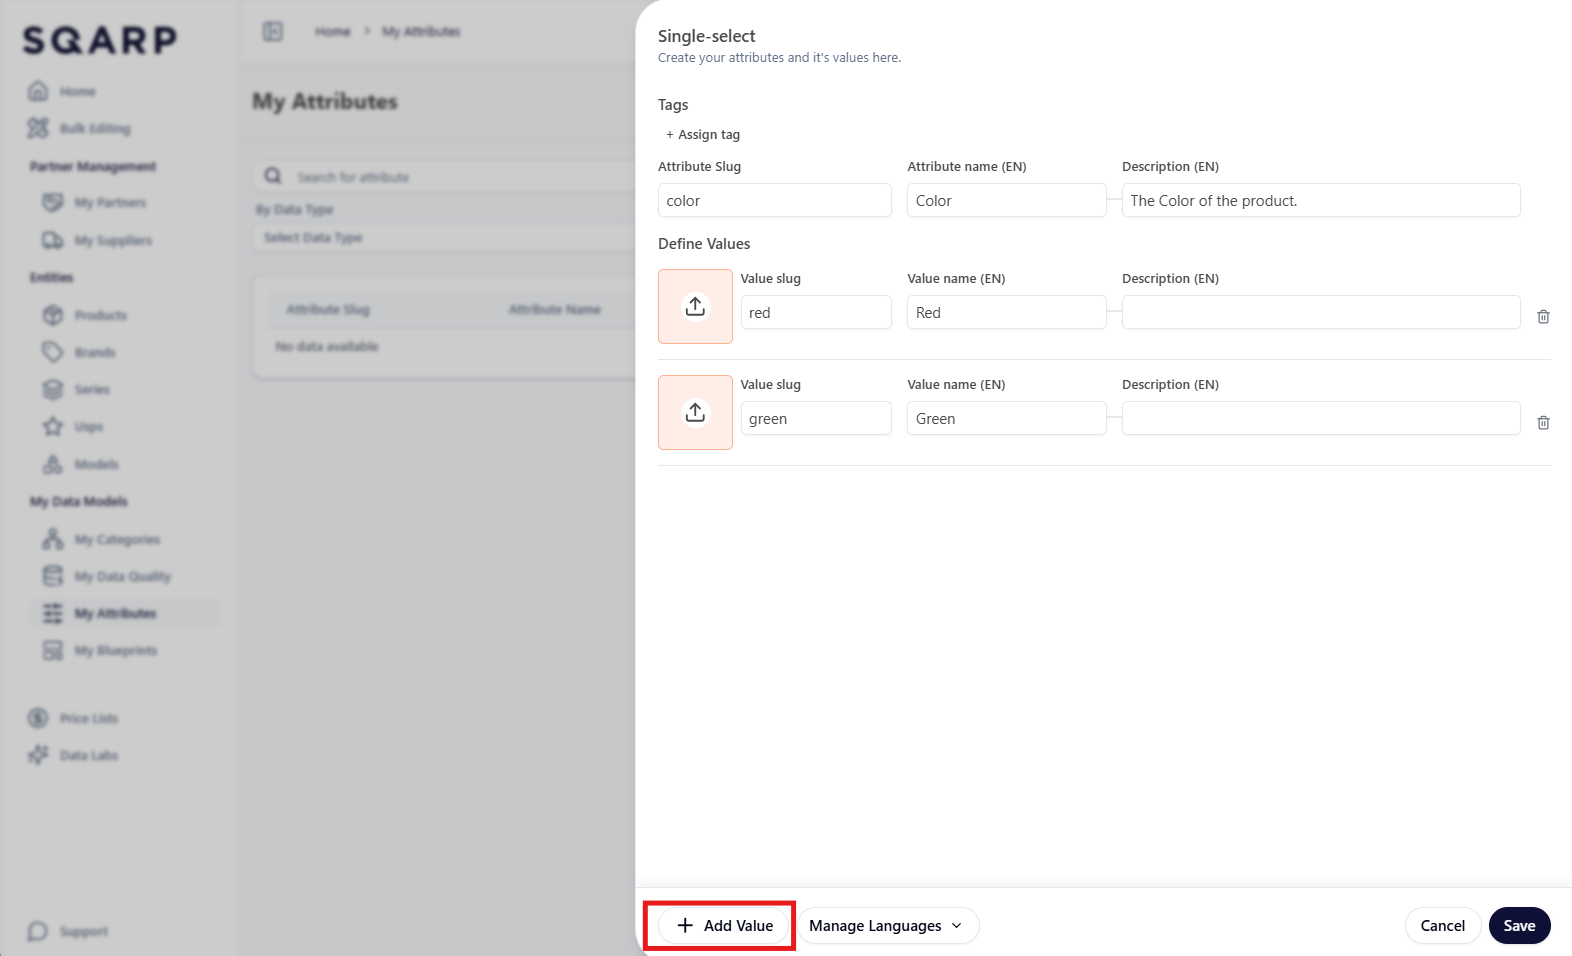
Navigate to My Attributes on the left side menu. On the top right click Add Attribute. Choose the relevant attribute type in the dropdown menu.
Attribute Slug and Attribute Name is mandatory while Description and Tags can be skipped if not relevant but can be useful.

If the attribute is of type Single Select or Multi Select more values can be added by pressing Add Values.
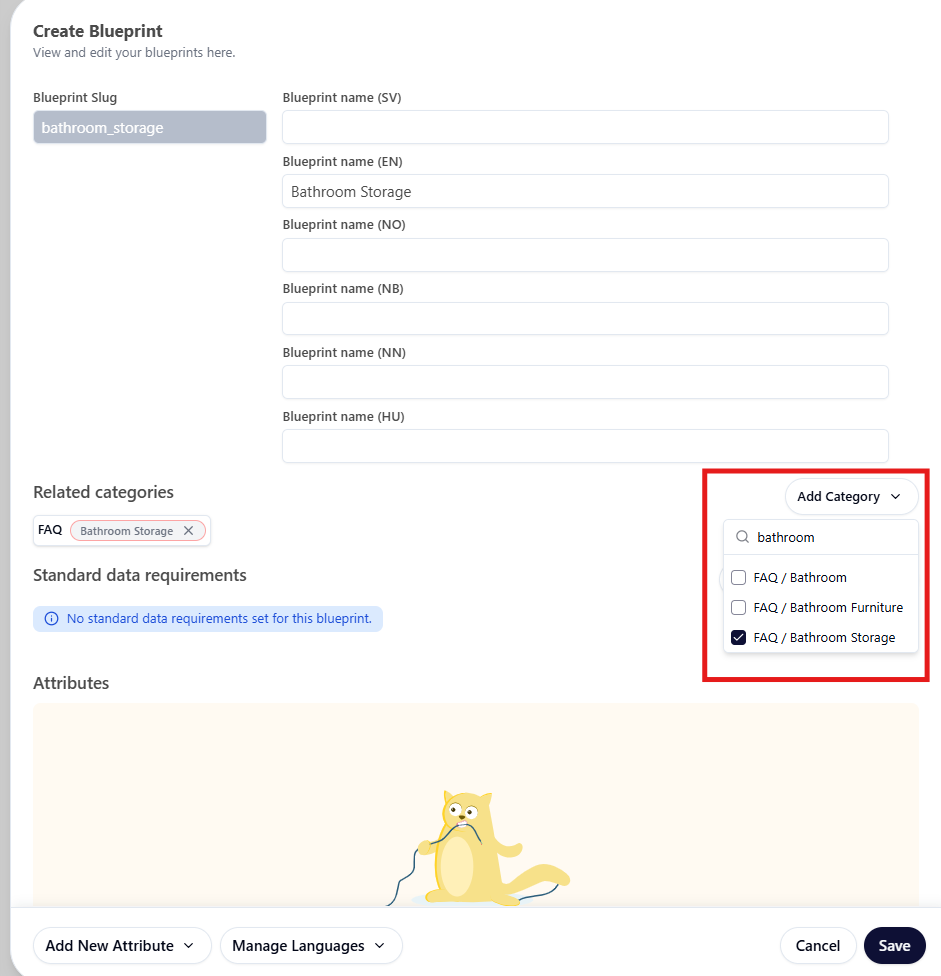
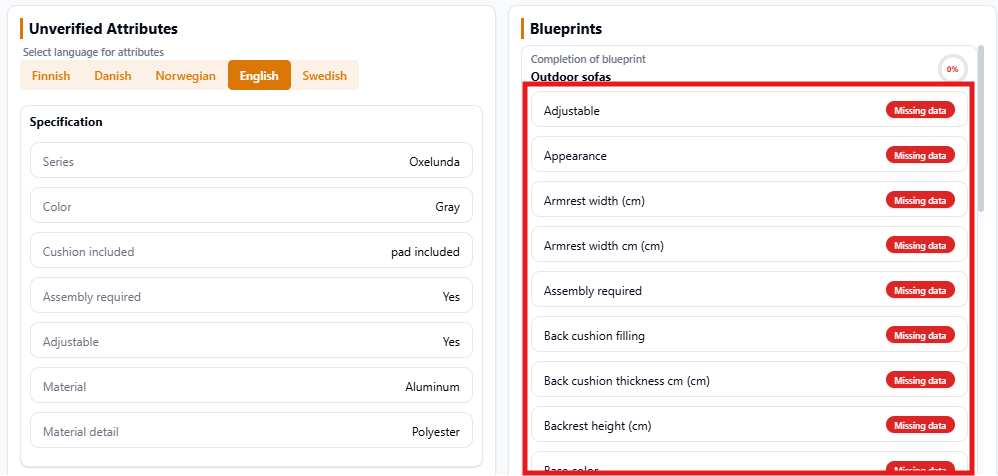
My Blueprints
Blueprints are used to group attributes and link them to category nodes. When a blueprint is associated with a category, all products within that category are automatically enriched with the attributes defined in the blueprint. This is especially useful when different categories require different sets of relevant attributes.
Blueprints can either be created in bulk with excel or in the SQARP interface.
Bulk upload
Navigating to Bulk Editing on the leftside menu and go to tab Advanced.
In the middle of the page you find My Data Model, which presents Categories, Attributes and Blueprints. Navigate to Blueprints and download the template.
Blueprint Base
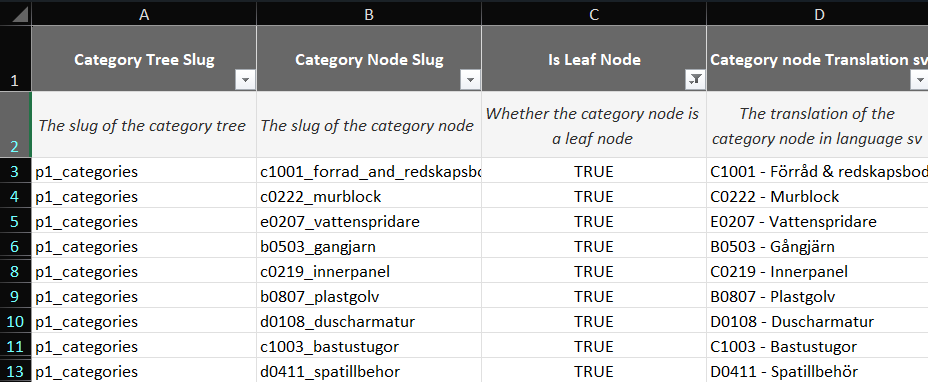
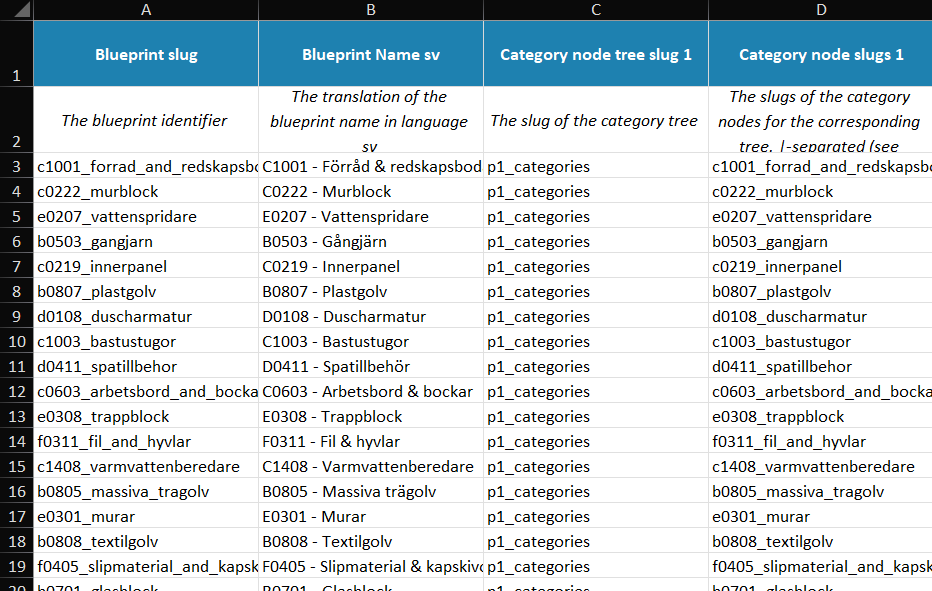
Sheet Blueprint Base is where the blueprint is created. One row represents one blueprint. A good principle is to create one blueprint for each leaf node in the category tree. All category nodes can be found in sheet Categories Reference. Filter on Category Tree Slug for the correct category tree and Is Leaf Node "TRUE" to only display leafnodes.
Category Tree Slug, Category Node Slug and Category node Translation can then be copy-paste to sheet Blueprint Base. Keeping Blueprint slug and Category node slugs 1 the same.
Attributes
Sheet Attributes is where you connect attributes to your blueprints. One row represents one connected attribute. A list of all existing attributes on the organization can be found in sheet My Attributes Reference.

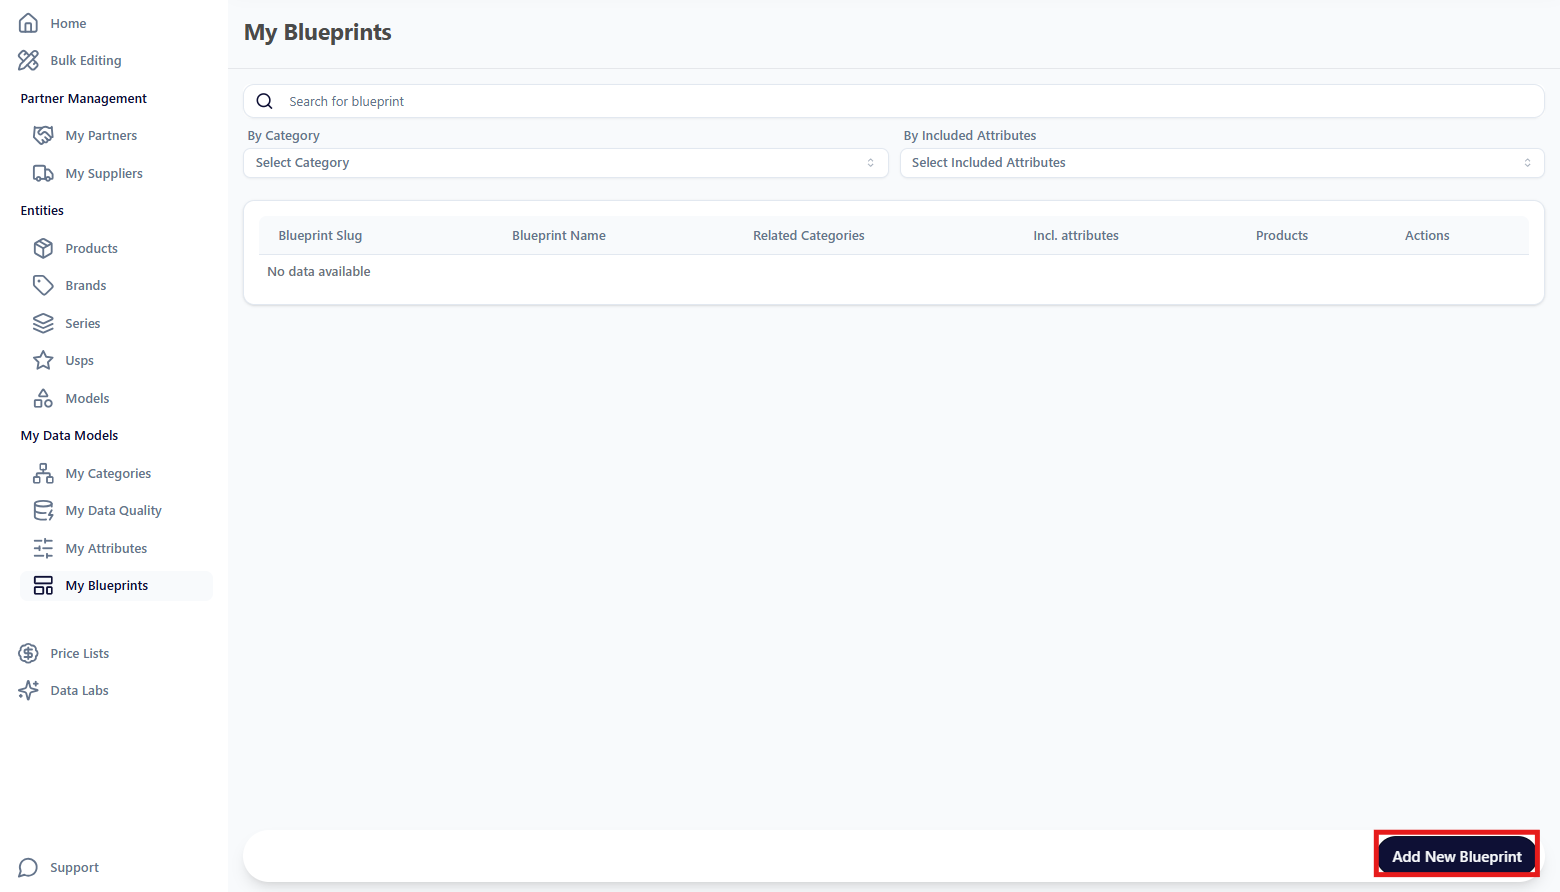
Manual creation
Navigate to My Blueprints on the left side menu. On the bottom right click Add New Blueprint.